- Details
- Written by: Stanko Milosev
- Category: Windows Forms
- Hits: 2861
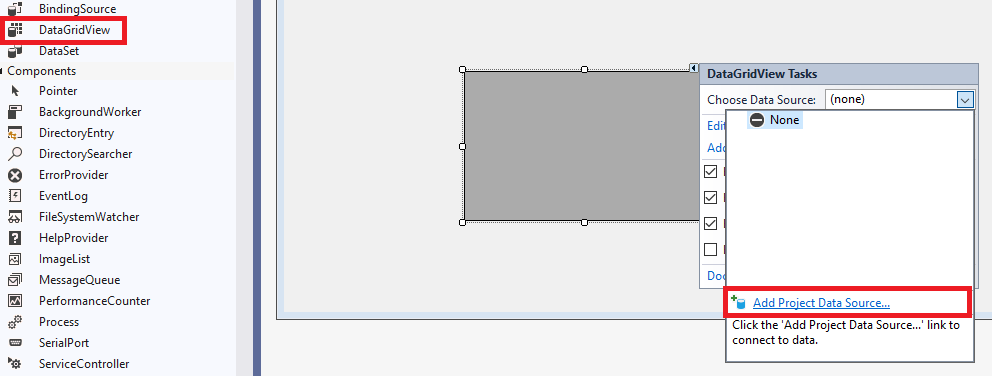
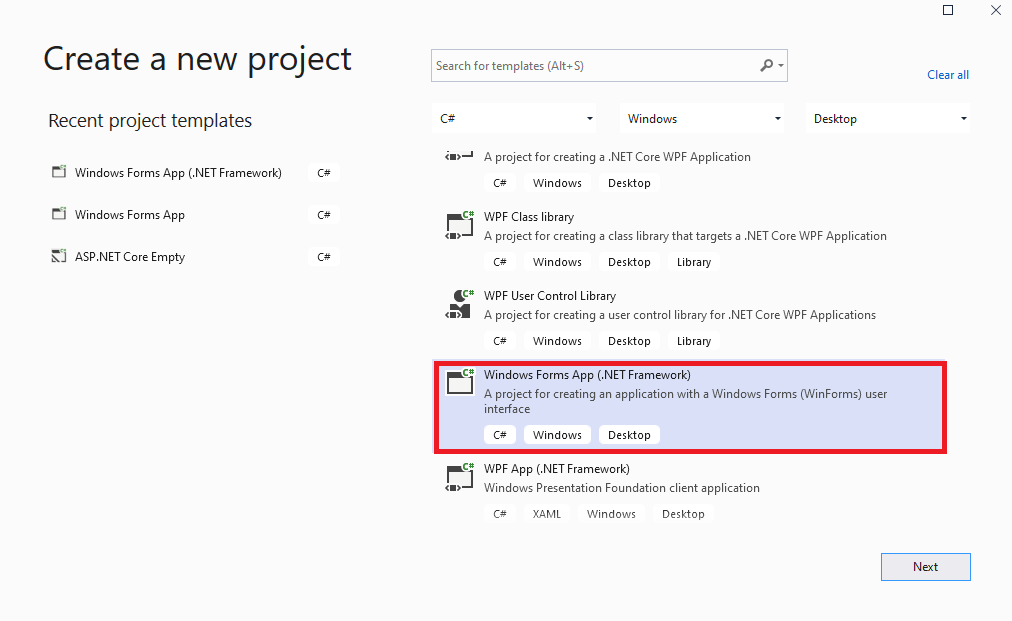 Next I added DataGridView, and here automatically opened "Choose Data Source":
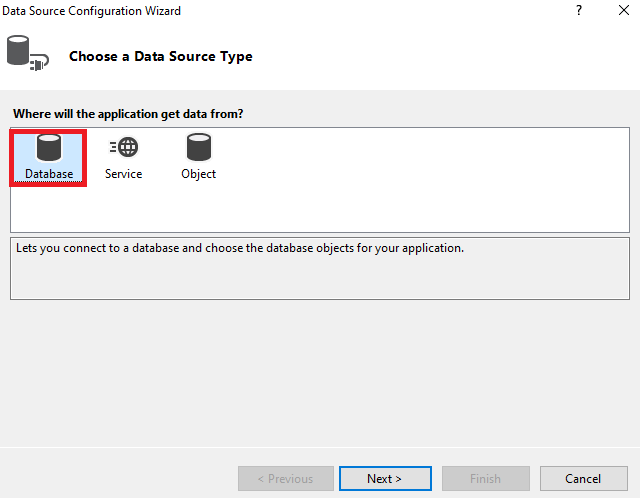
 Then choose a data source type, in my case I have choosen Database:
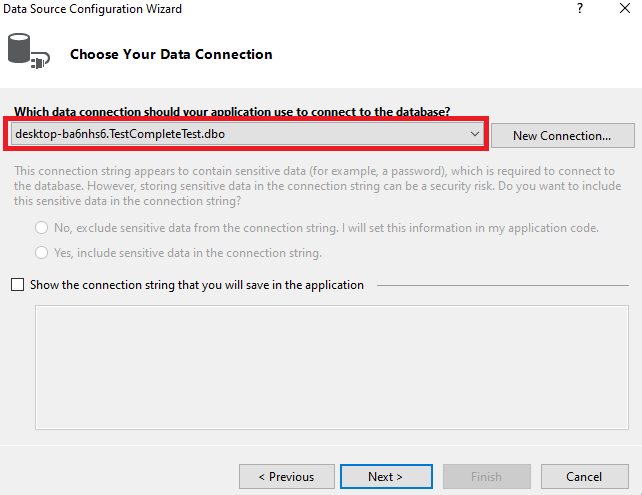
 Choose data connection:
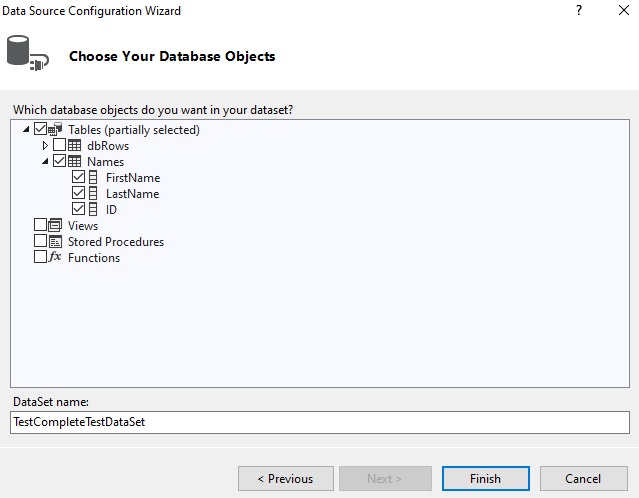
 Choose database objects:
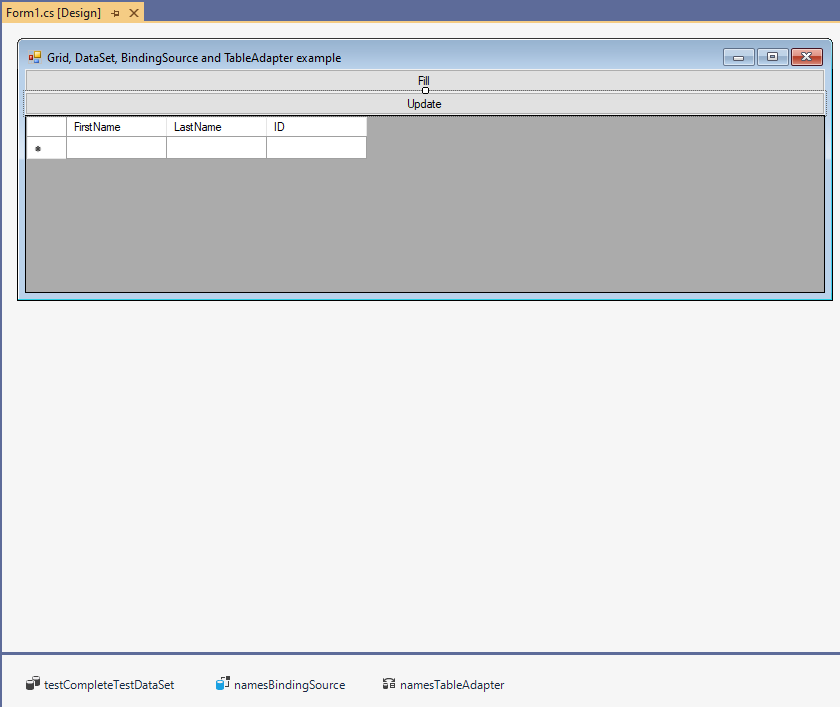
 I have added two buttons, one to update data to the database, and other to fill grid with data. On the end my Form looks like:
 Finally, here is how my source code look like:
using System;
using System.Windows.Forms;

namespace GridDataSetBindingSourceAndTableAdapterExample
{
  public partial class Form1 : Form
  {
    public Form1()
    {
      InitializeComponent();
    }

    private void Form1_Load(object sender, EventArgs e)
    {
      // TODO: This line of code loads data into the 'testCompleteTestDataSet.Names' table. You can move, or remove it, as needed.
      this.namesTableAdapter.Fill(this.testCompleteTestDataSet.Names);

    }

    private void Update_Click(object sender, EventArgs e)
    {
      this.namesTableAdapter.Update(this.testCompleteTestDataSet);
    }

    private void Fill_Click(object sender, EventArgs e)
    {
      this.namesTableAdapter.Fill(this.testCompleteTestDataSet.Names);
    }
  }
}
Here is SQL script to create table which I am using for this example:
CREATE TABLE [dbo].[Names](
	[FirstName] [nvarchar](50) NULL,
	[LastName] [nvarchar](50) NULL,
	[ID] [int] NULL
) ON [PRIMARY]
Example project in VS 2019 download from here
- Details
- Written by: Stanko Milosev
- Category: Windows Forms
- Hits: 2461
private void sdnButton1_Click(object sender, EventArgs e)
{
	List<MyChild> stankosKids = new List<MyChild>();
	stankosKids.Add(new MyChild { Name = "Velimir", Gender = "Male" });
	stankosKids.Add(new MyChild { Name = "Hilda", Gender = "Female" });

	List<MyChild> arnoldsKids = new List<MyChild>();
	arnoldsKids.Add(new MyChild { Name = "Thomas", Gender = "Male" });
	arnoldsKids.Add(new MyChild { Name = "Sabrina", Gender = "Female" });

	List<MyChild> chucksKids = new List<MyChild>();
	chucksKids.Add(new MyChild { Name = "Bruce", Gender = "Male" });
	chucksKids.Add(new MyChild { Name = "Lee", Gender = "Female" });

	List<MyParent> list = new List<MyParent>();
	list.Add(new MyParent { ID = 1, FirstName = "Stanko", LastName = "Milosev", Address = "Herseler strasse 8", MyKids = stankosKids });
	list.Add(new MyParent { ID = 2, FirstName = "Arnold", LastName = "Schwarzeneger", Address = "Whitehouse 1", MyKids = arnoldsKids });
	list.Add(new MyParent { ID = 3, FirstName = "Chuck", LastName = "Norris", Address = "Las Vegas", MyKids = chucksKids });

	ultraGrid1.SetDataBinding(list, null);
}

public class MyParent
{
	public int ID { get; set; }
	public string FirstName { get; set; }
	public string LastName { get; set; }
	public string Address { get; set; }

	public List<MyChild> MyKids { get; set; }
}

public class MyChild
{
	public string Name { get; set; }
	public string Gender { get; set; }
}
- Details
- Written by: Stanko Milosev
- Category: Windows Forms
- Hits: 2891
private Image SetImageOpacity(Image image, float opacity)
{
	try
	{
		//create a Bitmap the size of the image provided
		Bitmap bmp = new Bitmap(image.Width, image.Height);

		//create a graphics object from the image
		using (Graphics gfx = Graphics.FromImage(bmp))
		{

			//create a color matrix object
			ColorMatrix matrix = new ColorMatrix();

			//set the opacity
			matrix.Matrix33 = opacity;

			//create image attributes
			ImageAttributes attributes = new ImageAttributes();

			//set the color(opacity) of the image
			attributes.SetColorMatrix(matrix, ColorMatrixFlag.Default, ColorAdjustType.Bitmap);

			//now draw the image
			gfx.DrawImage(image
				, new Rectangle(0
					, 0
					, bmp.Width
					, bmp.Height
				)
				, 0
				, 0
				, image.Width
				, image.Height
				, GraphicsUnit.Pixel
				, attributes
			);
		}

		return bmp;
	}
	catch (Exception ex)
	{
		MessageBox.Show(ex.Message);
		return null;
	}
}
My example how use this method:
try
{
	float opacity = (float) trackBar1.Value / 100;
	panel1.BackgroundImageLayout = ImageLayout.Center;
	panel1.BackgroundImage = SetImageOpacity(myBitmap, opacity);
}
catch (Exception exception)
{
	MessageBox.Show($@"Cannot to set opacity of picture. Error message: {exception.Message}");
}
Notice that opacity is float and it can be between 0 to 1, everything bigger then 1 will have no impact. Example in Winforms you can download from here.
Taken from here.
- Details
- Written by: Stanko Milosev
- Category: Windows Forms
- Hits: 6766
Start new Windows Forms Application, for example, name it MyInheritance.
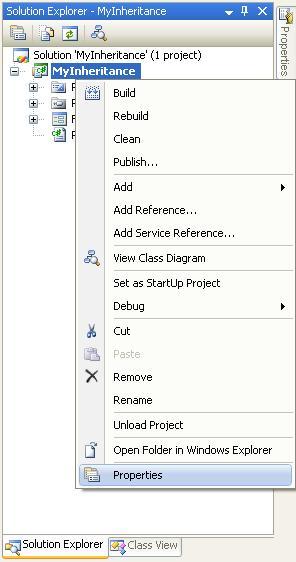
In solution explorer right clink on MyInheritance, like on picture:
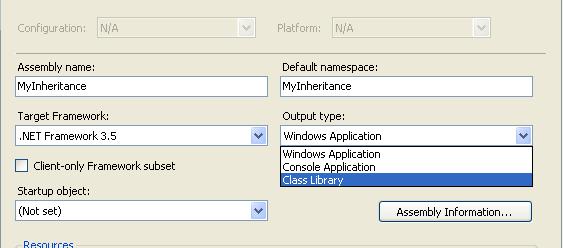
Then, in project properties under Output type choose Console Application like on picture:
Save it. Put a button on a form (add form if it doesn't exist), build project.
Then, to test it, go to the File -> Add -> New project... Then choose Windows Forms Application, in the solution explorer right click on References, go to the project tab and choose MyInheritance, then right click on this new project -> Add -> New item ->Windows Forms -> Inherited Form -> Ok and this is it.
If you want to change a component in your inhertited form, then choose property Modifiers from MyInheritance and change it to Public.
Taken from here.