- Details
- Written by: Stanko Milosev
- Category: Azure
- Hits: 28325
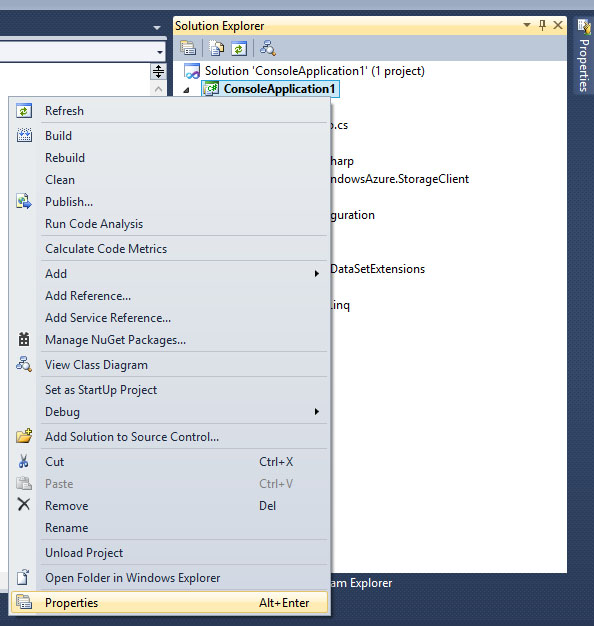
If you are receiving error like in the title, then you have to change your target framework, because console application is targeted to .Net Framework 4 Client Profile by default.
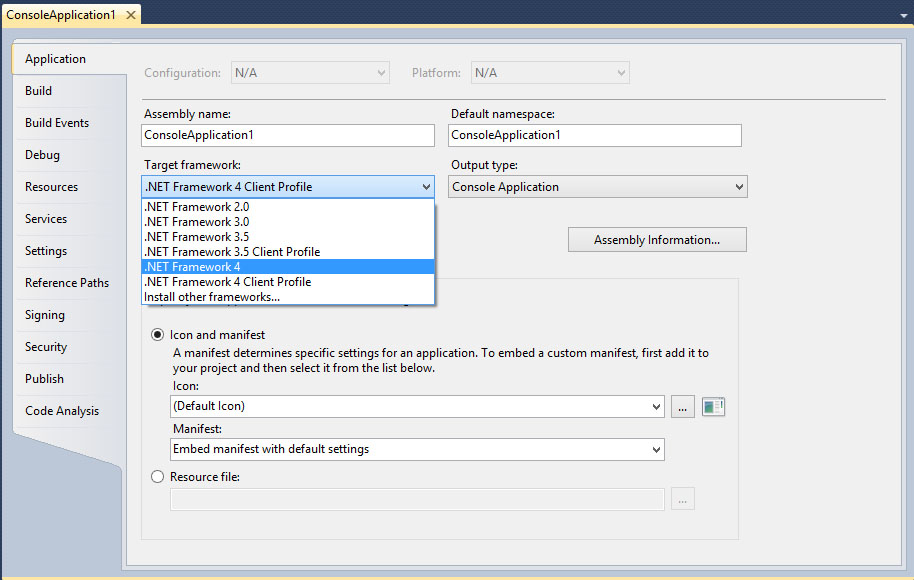
Right click on the project, and then properties:
and then change target framework to .NET Framework 4:
- Details
- Written by: Stanko Milosev
- Category: Azure
- Hits: 11920
If you want to deploy application to windows azure, with remote desktop enabled, like on the picture:
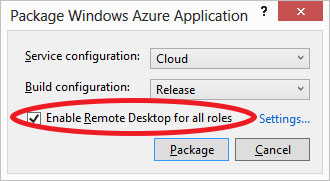
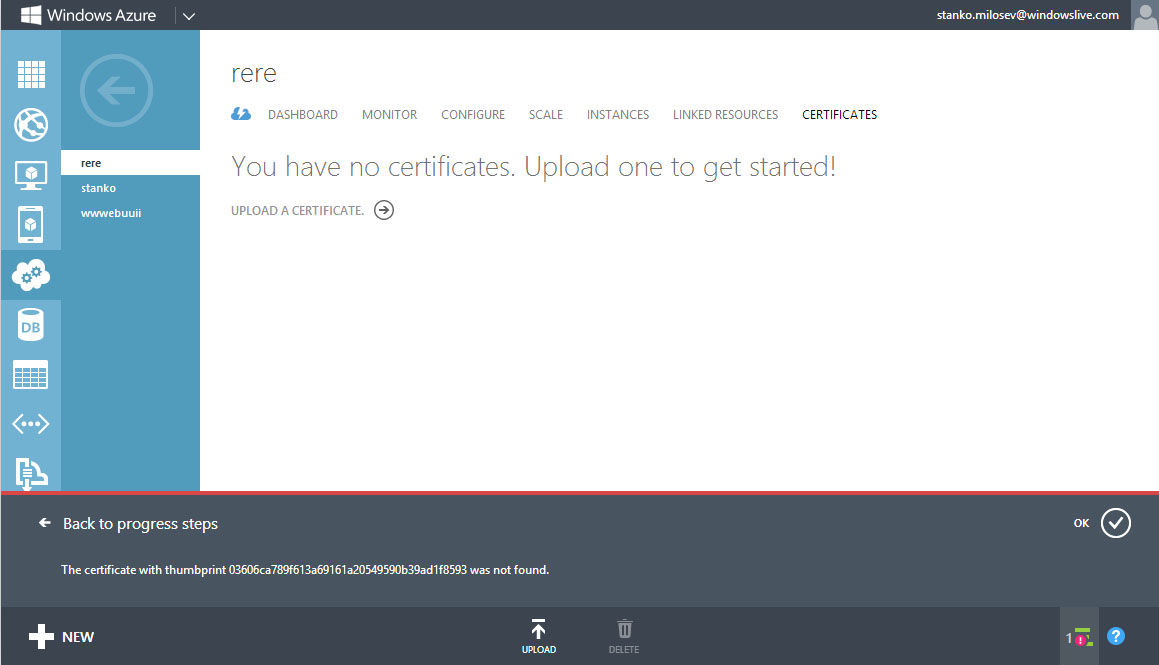
Then you have to upload a certificate, otherwise you will receive thee error like:
So, go to the settings, there you can choose which certificate you want your application to use:

Then open Certificate Manager by clicking the Start button , typing certmgr.msc into the Search box, and then pressing ENTER. If you are prompted for an administrator password or confirmation, type the password or provide confirmation.
This information I took from here.
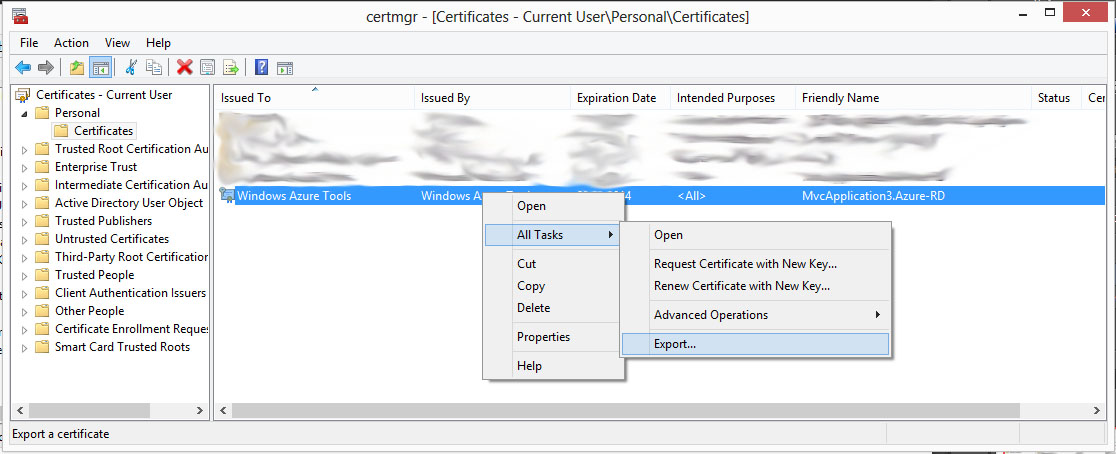
Click with right button on the certificate and export it, like on the picture:
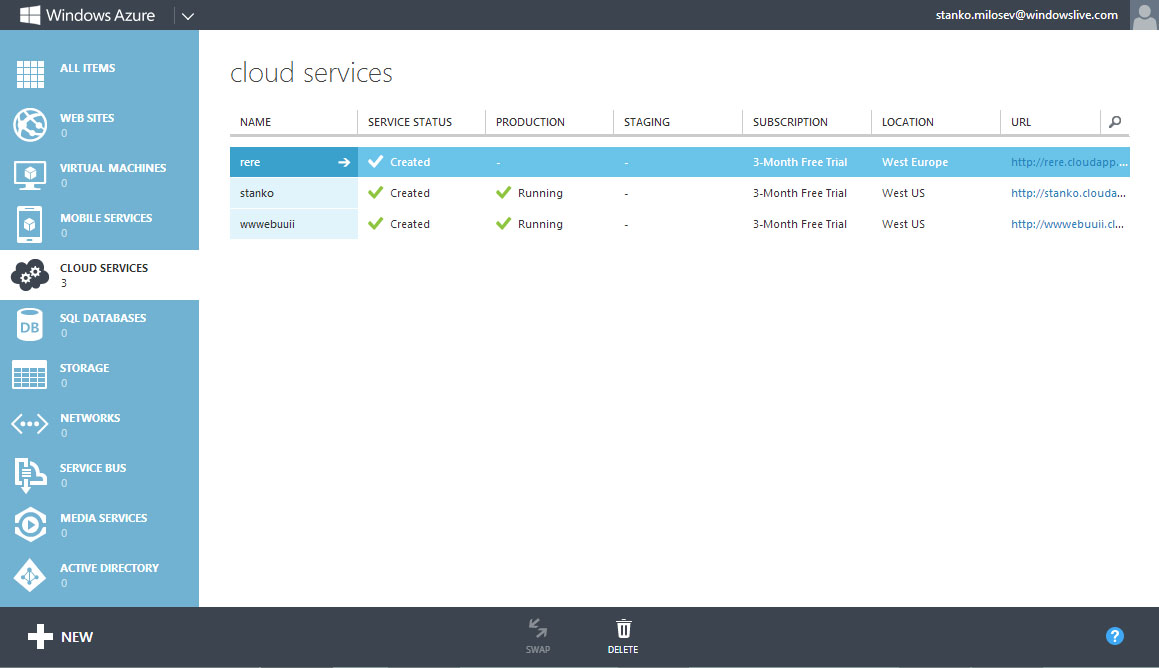
Then, go to azure -> cloud services:
Click on instance on which you want to install certificate, go to certificates:
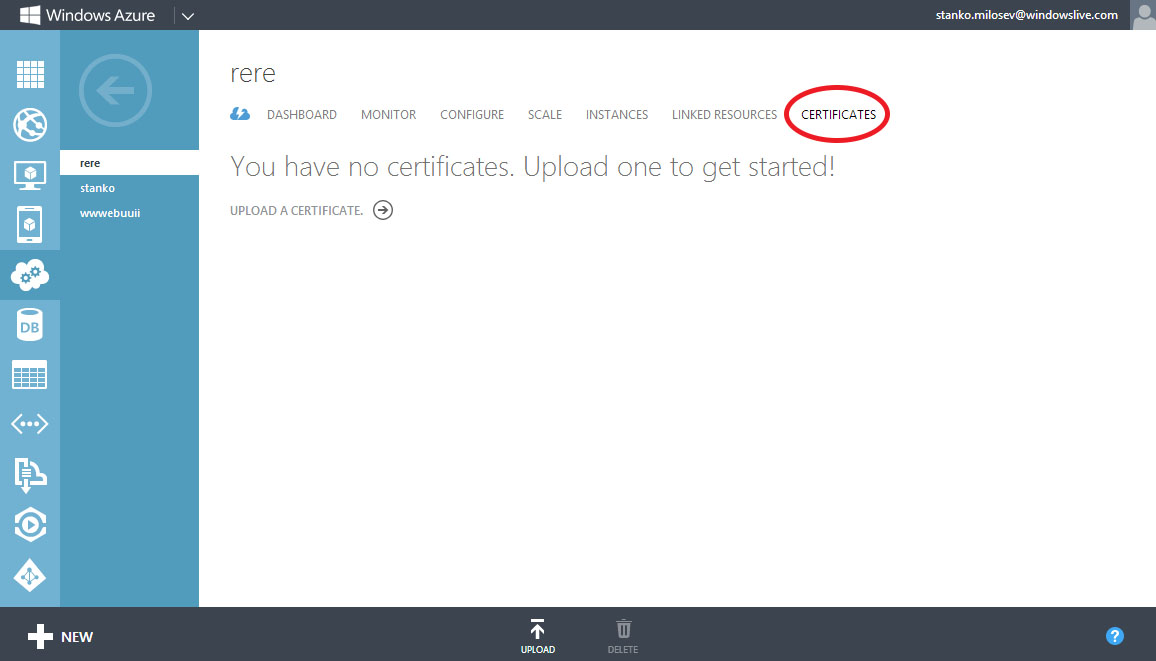
and upload certificate.
Now you are ready to deploy your application with remote desktop enabled.
- Details
- Written by: Stanko Milosev
- Category: Azure
- Hits: 8096
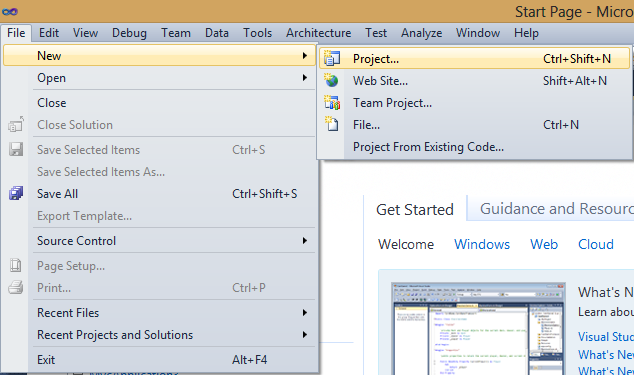
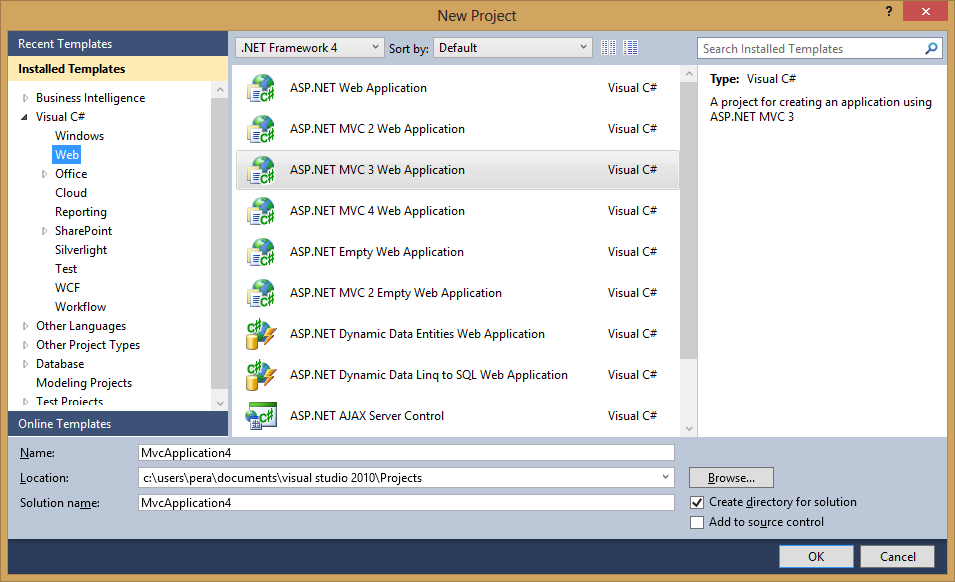
Using Visual Studio 2010, first, lets create an application:
Then choose MVC3 application
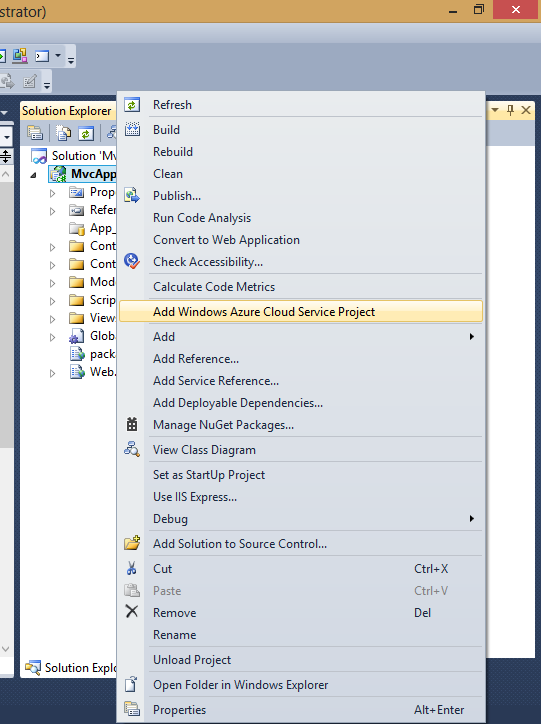
Then right click on the project and add windows azure:
Now right click on Azure project and choose package:
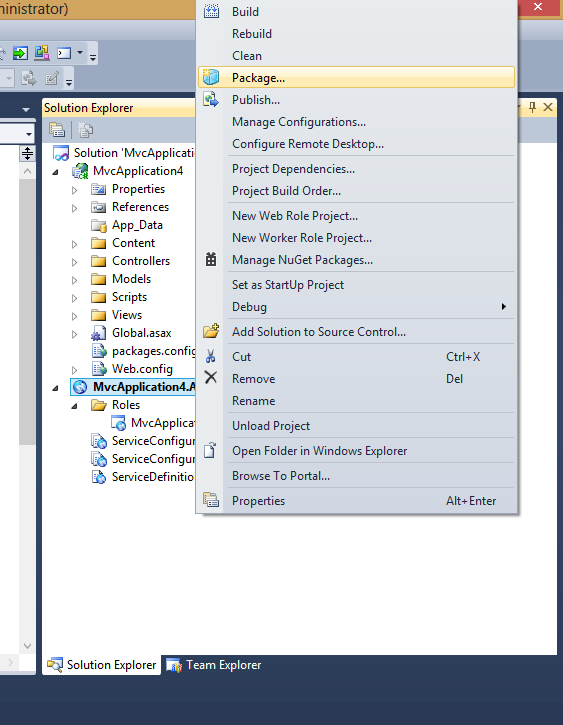
and with this you will have packages which has to be uploaded to Azure.
Now, lets go to cloud services:
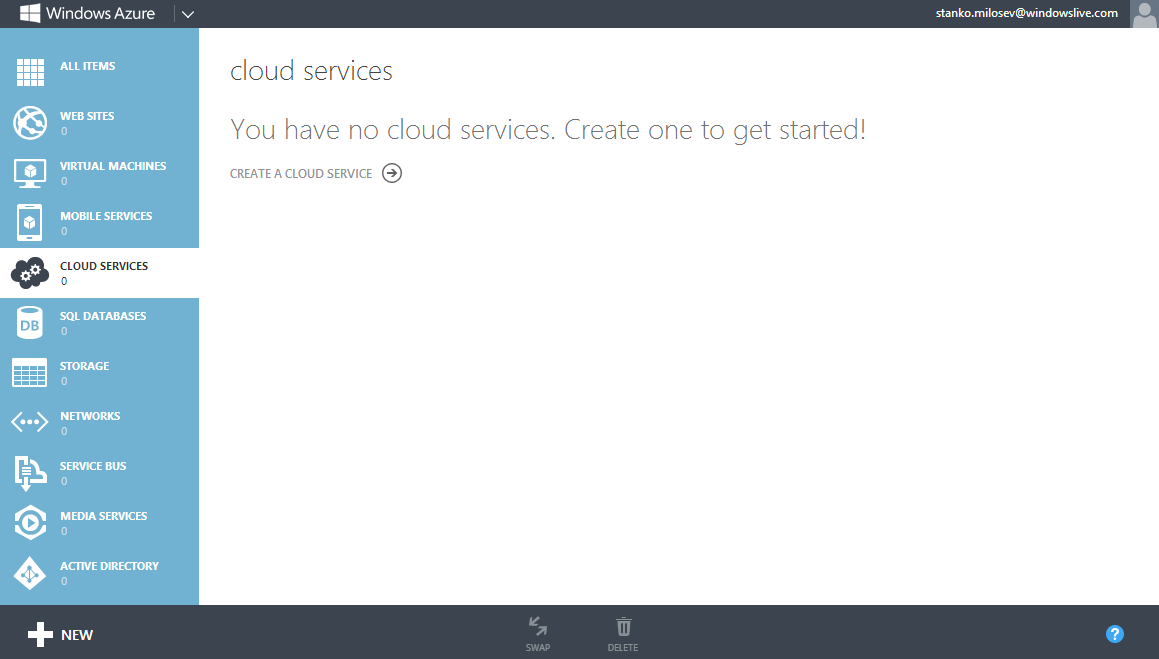
Create one, in my case I name it stanko:
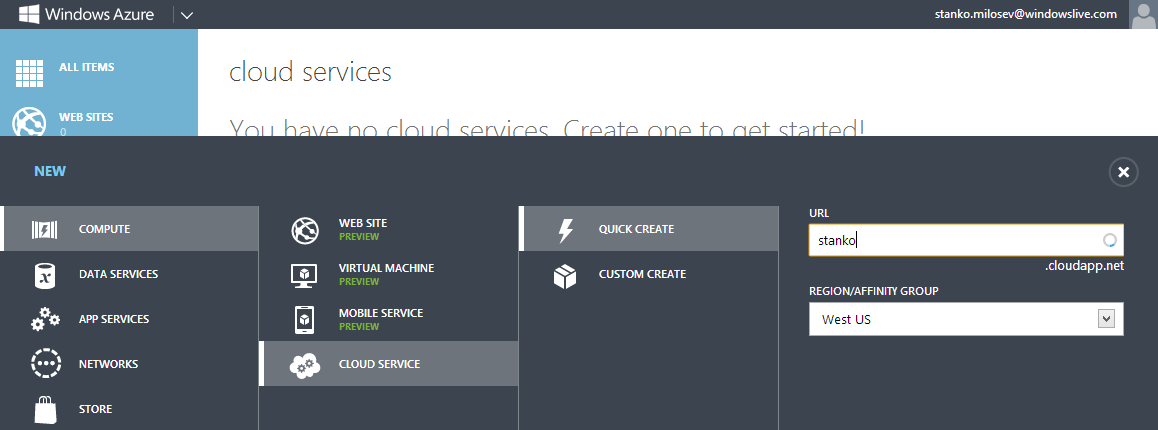
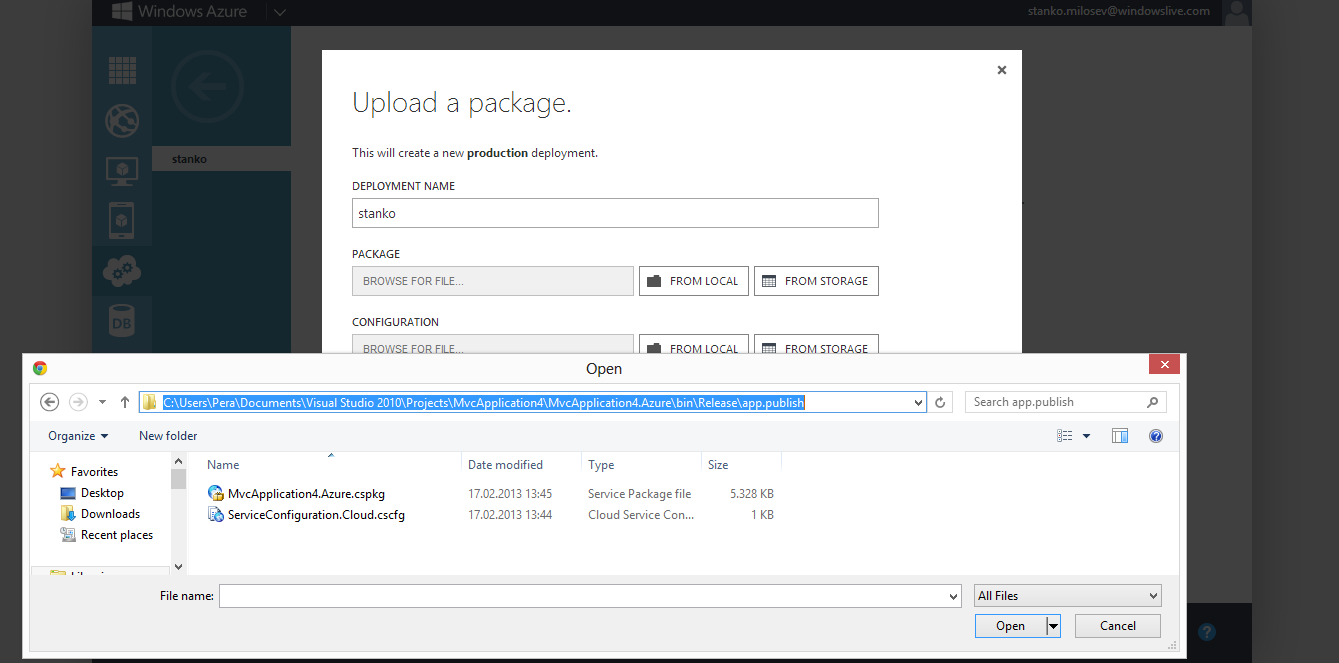
Choose package files and configuration files:
Check "Deploy even if one or more roles contain a single instance":
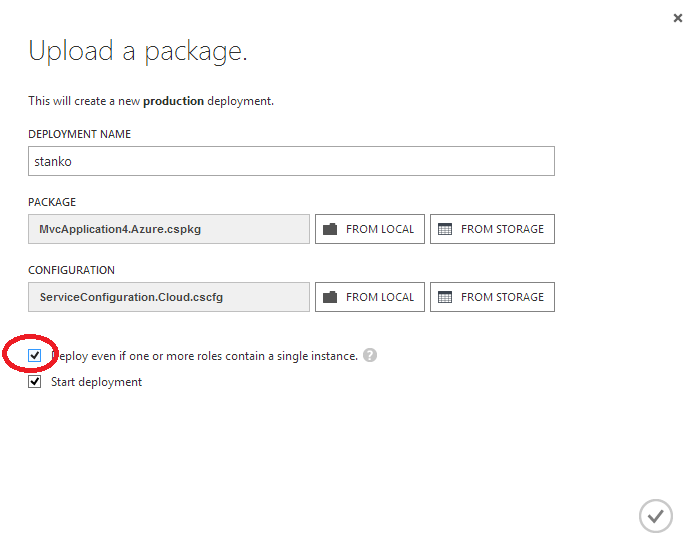
Otherwise you will receive error "The uploaded configuration file has at least one role that has only one instance. We recommend that you deploy at least two instances per role to ensure high availability in case one of the instances becomes unavailable. If you want to use the current configuration, please retry the operation and select the "Deploy even if one or more roles contain a single instance" option in the dialog box.":

After deployment if you go to http://stanko.cloudapp.net/ you will see the web site.
- Details
- Written by: Stanko Milosev
- Category: Windows
- Hits: 6471
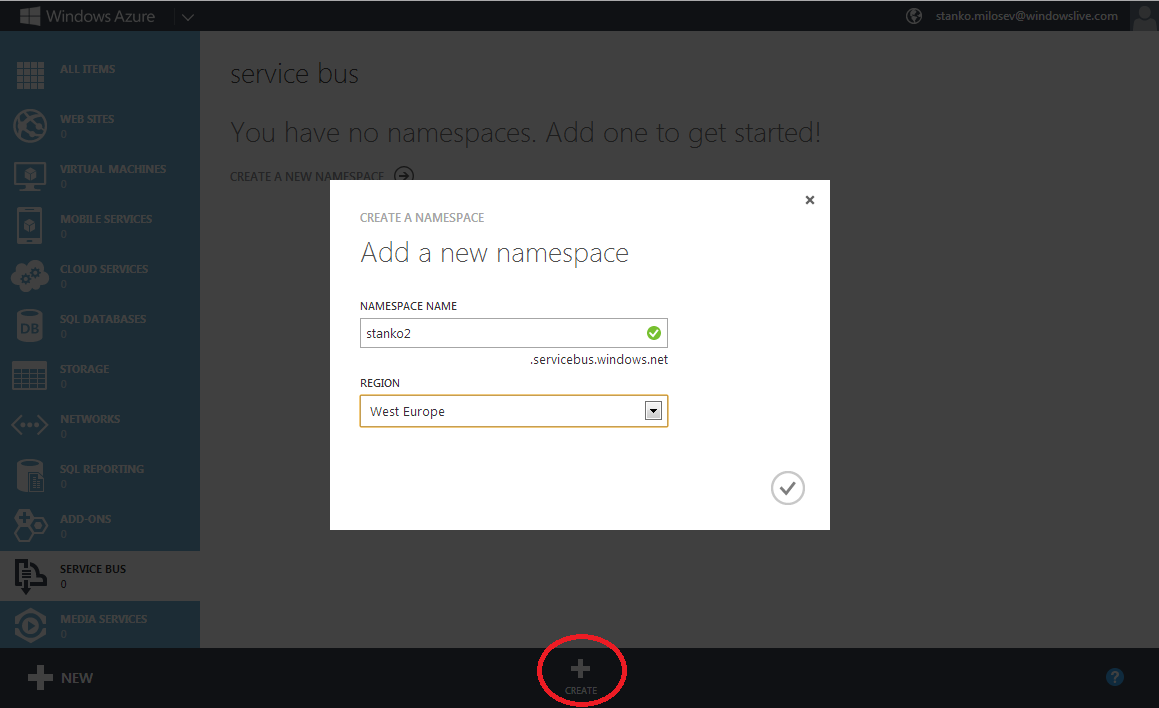
First we will go to service bus:
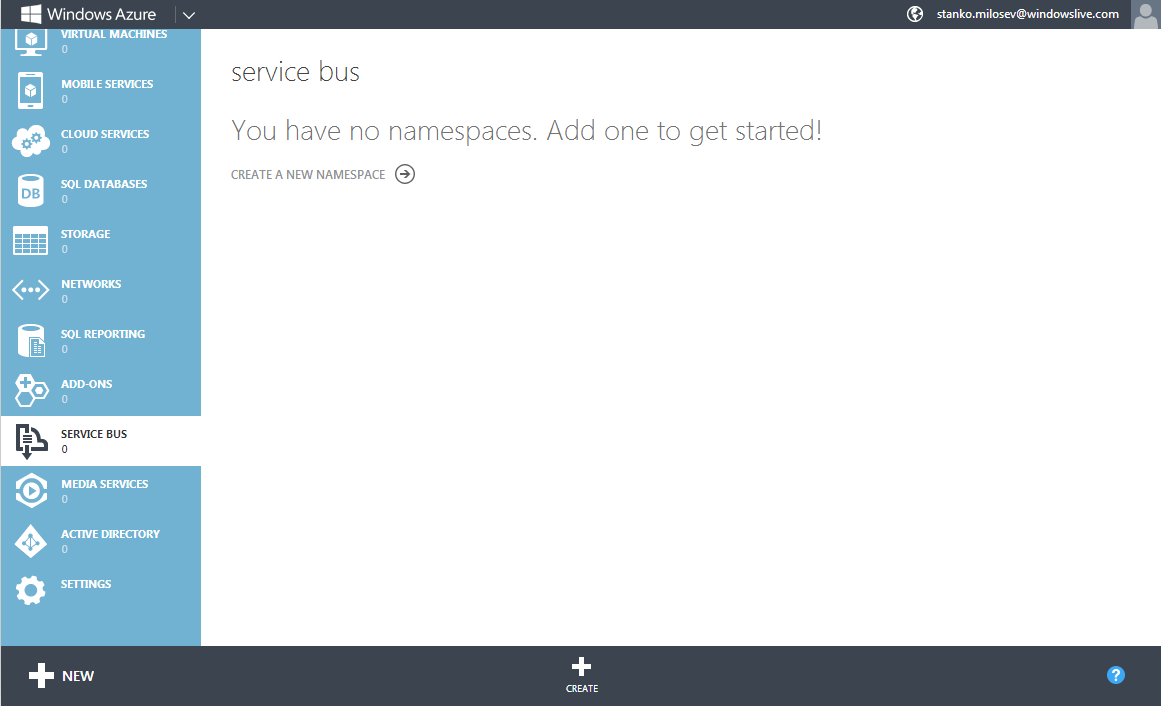
And we will create one service bus:
After we created service bus, we can create either queue or topic. Topic is like a "view of queues" - can be understood like view in MS SQL Server. Topic and queues can be created manually or programmatically.
One example of creating topics, is something like:
TokenProvider tokenProvider = TokenProvider.CreateSharedSecretTokenProvider (TopicUtilities.GetIssuerName (), TopicUtilities.GetIssuerKey ());
Uri serviceUri = ServiceBusEnvironment.CreateServiceUri ("sb", TopicUtilities.GetServiceNamespace (), string.Empty);
NamespaceManager namespaceManager = new NamespaceManager (serviceUri, tokenProvider);
Where GetIssuerName, GetIssuerKey, and GetServiceNamespace are like:
public static String GetIssuerName()
{
	if (_IssuerName == null)
	{
		lock (SYNC_LOCK)
		{
			if (_IssuerName == null)
			{
				_IssuerName = ReadAttribute("myNameSpace.something.Client.IssuerName", DefaulIssuerName);
			}
		}
	}
	return _IssuerName;
}

public static String GetIssuerKey()
{
	if (_IssuerKey == null)
	{
		lock (SYNC_LOCK)
		{
			if (_IssuerKey == null)
			{
				_IssuerKey = ReadAttribute("myNameSpace.something.Client.IssuerKey");
			}
		}
	}
	return _IssuerKey;
}

public static String GetServiceNamespace()
{
	if (_ServiceNamespace == null)
	{
		lock (SYNC_LOCK)
		{
			if (_ServiceNamespace == null)
			{
				_ServiceNamespace = ReadAttribute("myNameSpace.something.Client.ServiceNamespace");
			}
		}
	}
	return _ServiceNamespace;
}
Then in, for example, ServiceConfiguration.Local.myApp.cscfg you must have something like:
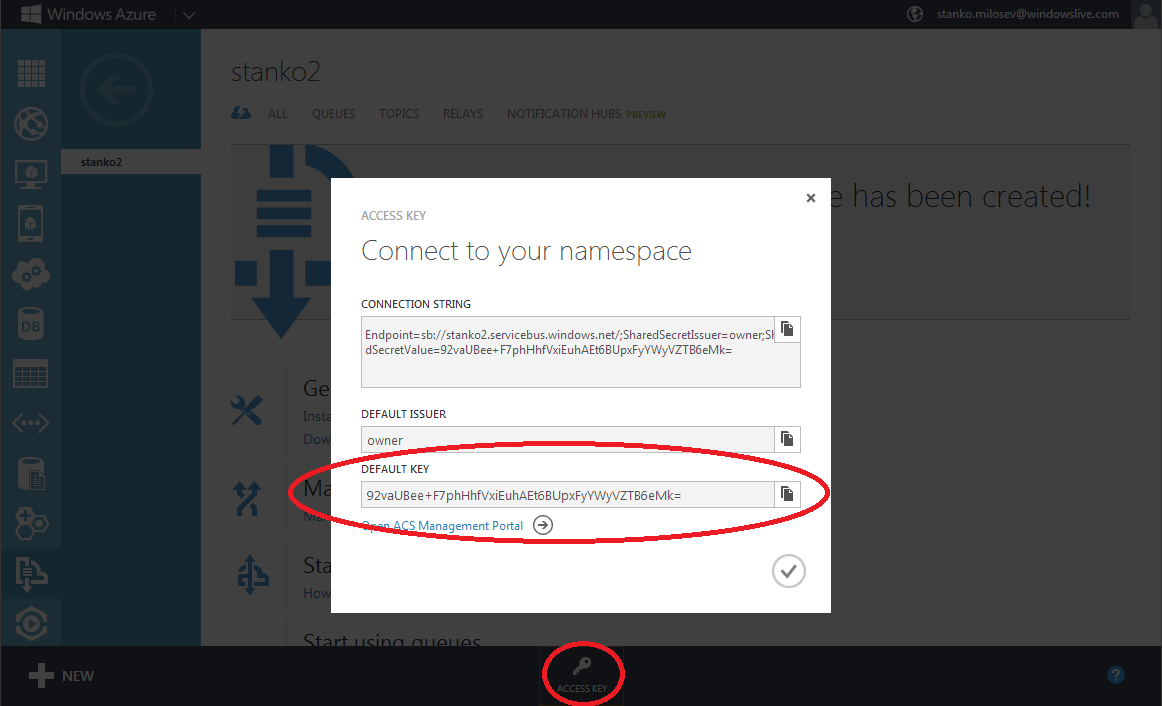
<ConfigurationSettings>
	<Setting name="myNameSpace.something.Client.IssuerName" value="owner" />
	<Setting name="myNameSpace.something.Client.IssuerKey" value="myKey" />
	<Setting name="myNameSpace.something.Client.ServiceNamespace" value="stanko2" />
</ConfigurationSettings>
Where myKey you can get if you click on service bus, and then on the access key, like on the picture
ServiceConfiguration.Local.myApp.cscfg is configuration if you want to deploy your app to Azure, but first to test it locally, so this configuration is for local Azure deployment.
For command line test, you can just something like:
NamespaceManager namespaceManager = NamespaceManager.Create();
but in your app.config you must to have something like:
<?xml version="1.0" encoding="utf-8"?>
<configuration>
  <appSettings>
    <!-- Service Bus specific app setings for messaging connections -->
    <add key="Microsoft.ServiceBus.ConnectionString" value="Endpoint=sb://stanko.servicebus.windows.net/;SharedSecretIssuer=owner;SharedSecretValue=Bqcy7BC020Top5t1jcQnJ7CZN23t2JmqhpXwIRDGjEU=" />
  </appSettings>
</configuration>
None of these examples were not tested.